
I really love the Research tool of the Google Docs. I don’t have to create another tab to search for images and articles that I need for my file. With the tool, I can simply drag the images to the blank document. No need to save or copy/paste. It’s easier and faster to create visual aids now.
If you are new to the Google Drive and you want to use this tool, here are the steps to follow.
1. Log-in to your Gmail or Google Account
2. Go to http://drive.google.com or click the Drive icon.
3. Click “New” or “Create”.
4. Click “Docs” of “Document” from the Drop-down menu.
5. Your screen should look like the screen below.
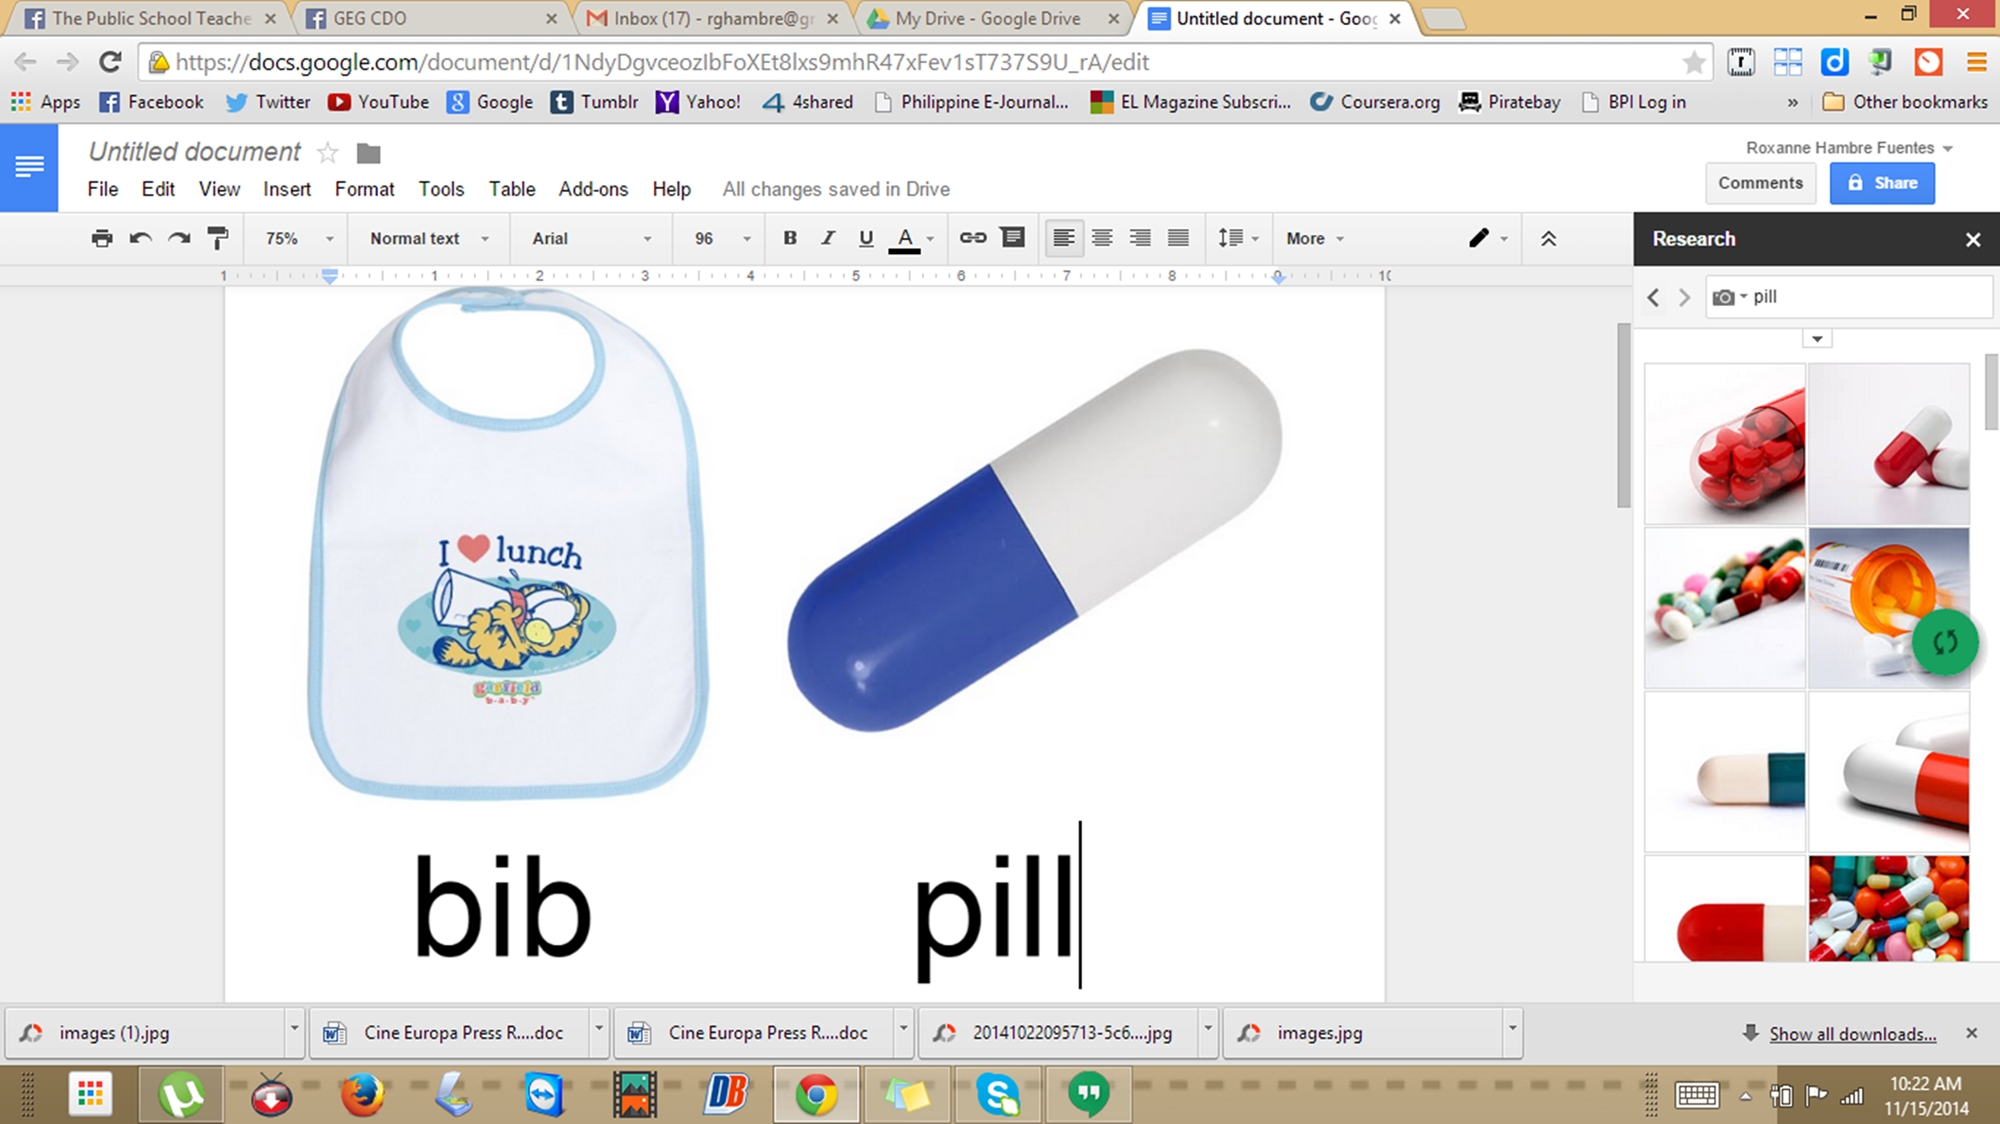
6. To search for images/articles/links to be placed on your document, just click on “Tools” at the top of your document.
7. Click “Research”. A small window will appear at the right side of your screen.
8. Type the thing that you want to search on the search box. Hit “Enter”. You will now see the results.
9. You may also filter your search according to Images, Quote, Scholar, etc. Just click on the g+ icon beside the search bar and select from the drop-down menu.
That’s it! Hope this helps!
Be the first to comment on "Learn: Using the Research Tool on Google Docs"